Lowcost Tellerschleifer
August 2014
Was macht man mit defekten Festplatten? Genau, man baut aus ihnen Tellerschleifer.
Im Netz gibt es unter dem Stichwort “HDD Sander” einiges an Bauanleitungen dazu.
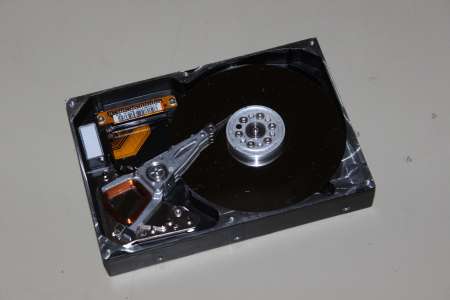
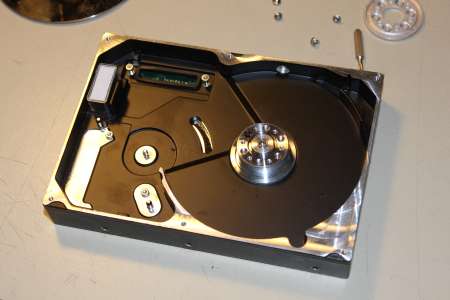
Es wird lediglich eine 3,5" Festplatte benötigt, bei der die Motorsteuerung und der Motor selbst noch funktionieren.
Schreib/Lesekopf und die Magneten können ohne weiteres entfernt werden.
Desweiteren wird für die Stromversorung ein Netzteil mit 12V und 5V benötigt, hierfür bieten sich alte PC-Netzteile sehr gut an. Wer dennoch ein anderes Netzteil nutzen möchte sollte darauf achten, dass die 5V Spannungsversorgung möglichst stabil und genau ist, ansonsten läft der Motor nicht an.
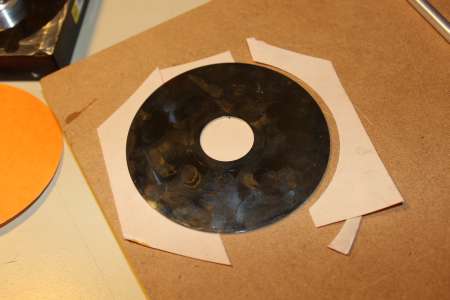
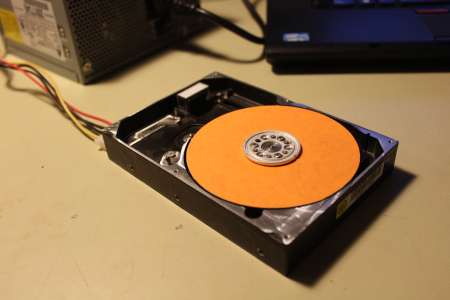
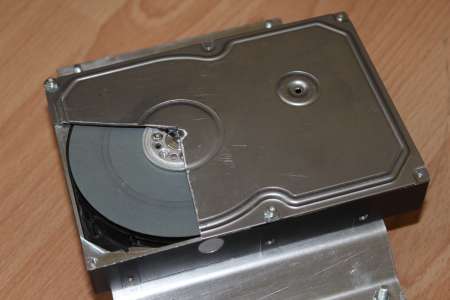
Um nun auf dem Plattenteller Metall schleifen zu können wird eine Scheibe herausgenommen und von einer Seite zuerst mit doppelseitigem Klebeband versehen. Überstehendes im Inneren, sowie außen wird mit einem scharfen Messer sauber abgeschnitten. Insgesammt sollte man beim Aufkleben so homogen wie möglich Arbeiten, da bei den 7000 Umdrehungen pro Minute die kleinste Unwucht schon negativ auffällt und der Schleifteller mit der Zeit wegläuft.
Beim Arbeiten mit den Plattentellern sollte man etwas vorsichtig sein, da es Festplatten gibt, bei denen die Platten aus metallbeschichteten Glas bestehen. Ob solche sich aber überhaupt zum draufrumschleifen eignen kann ich nicht bestätigen, ganz lustig ist es aber nicht wenn solch eine beim Schleifen nachgibt.
Auf das Klebeband wird nun das Schleifpapier aufgeklebt und ebenso zurechtgeschnitten. Nachher wieder die anderen Platten mit den Zwischenringen einsetzen, dabei hab ich die Platte mit dem Schleifpapier mit einem Zwischenring getauscht, sodass sie ganz oben liegt.
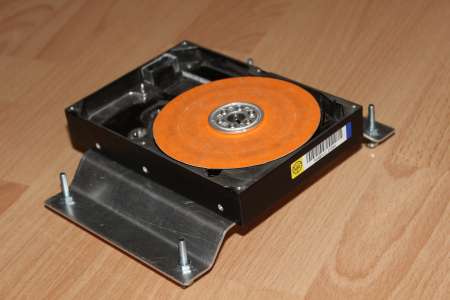
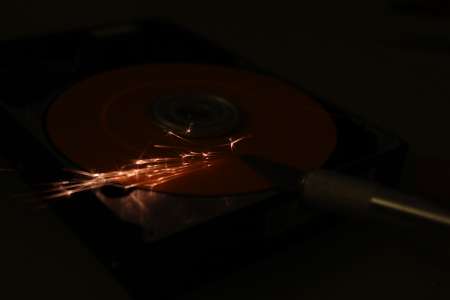
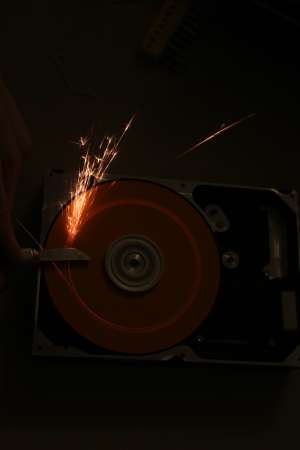
Strom rein und fertig ist der Schleifteller. Mit dem hier verwendeten 280er Schleifpapier lassen sich z.B. Messer gut Schärfen.
Um das Ganz noch etwas interessanter zu machen, wollte ich mir die Möglichkeit zum Nasschleifen offen halten.
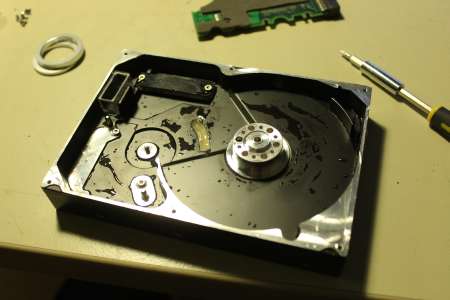
Dazu musste zuerst das Gehäse wasserdicht gemacht werden. Der Motor ist bereits Wasserdicht eingeklebt. Das Loch, durch welches die Kabel vom Schreib/Lesekopf zur Platine geführt wurden, konnte ich durch eine kleine festgeschraubte Carbonplatte dicht kriegen. Einen anderen größeren Schlitz musste ich allerding mit Heißkleber abdichten.
Die unter dem Gehäse liegende Platine hab ich zur Sicherheit in Frischhaltefolie eingewickelt, sodass Spritzwasser nicht sofort Schaden anrichten kann.
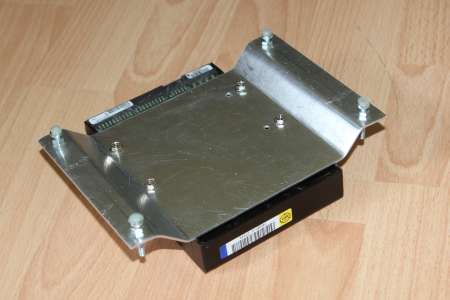
Da die Festplatte etwas zu rutschig ist hab ich sie auf einem Alublecht fest geschraubt. Auf den Köpfen der vier Schrauben sorgt ein Klumpen Heißkleber für sicheren Halt.
Der Deckel fängt das Wasser auf, was sonst bei der hohen Drezahl in alle Richtungen spritzen würde.
Das graue Schleifpapier ist hier übrigens 1200er. Es wird also weniger geschliffen als mehr Poliert.
Nadelschleifvorrichtung
Der eigendliche Grund für den Bau dieses Schleifers war die Notwenigkeit, Nadeln für den Schallplattenschneider (siehe Record Lathe) selbst sauber fertigen zu können.
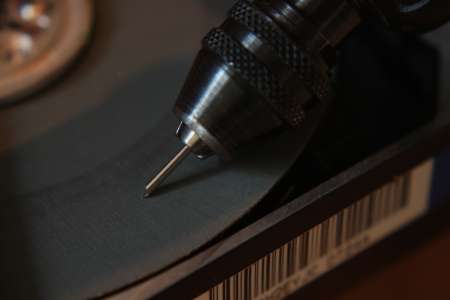
Die Nadeln sollen eine konische Spitze mit einem Winkel von 60°-90° haben. Die Spitze selbst sollte einen Radius von unter 20 µm haben.
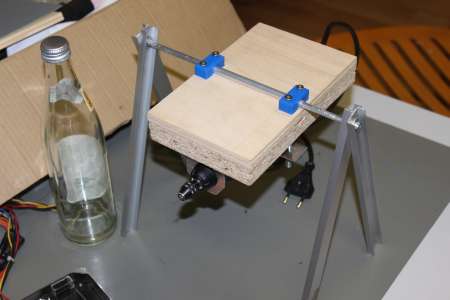
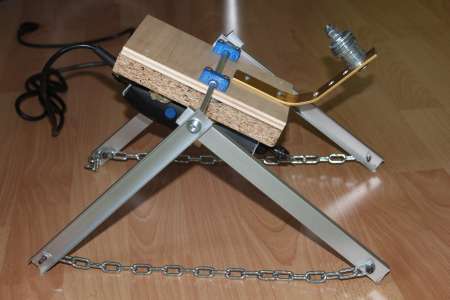
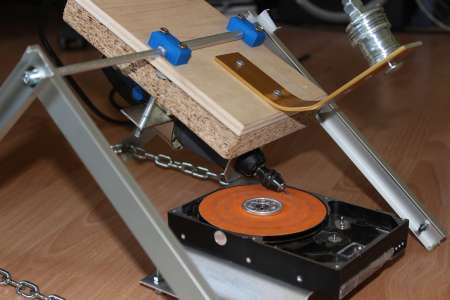
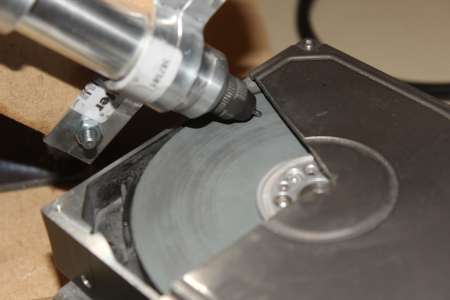
Um die Spitze beim Schleifen rund zu bekommen, wird die Nadel von einem Dremel langsam gedreht. Der Dremel selbst hängt drehbar an einer Vorrichtung und wird mit minimalen Gewicht auf den Schleifteller gedrückt.
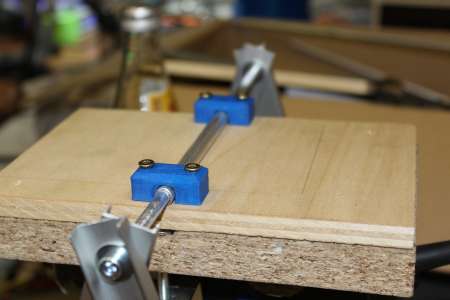
Die Ketten können an verschiedenen Stellen an den Aluminium U-Profilen verschraubt werden, wodurch die sich die Höhe des Dremels, und somit gleichzeitig der Winkel der Spitze, variiert lässt.
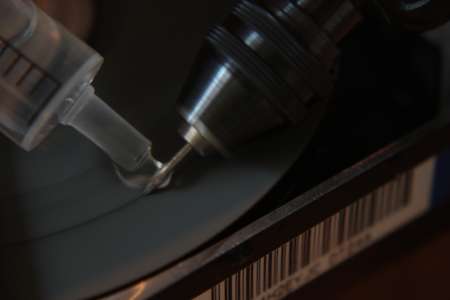
Die zu schleifende Stange wird einfach im Dremel eingespannt. Dann beides eingeschaltet und mit etwas Wasserzufuhr ein paar Sekunden lang geschliffen.
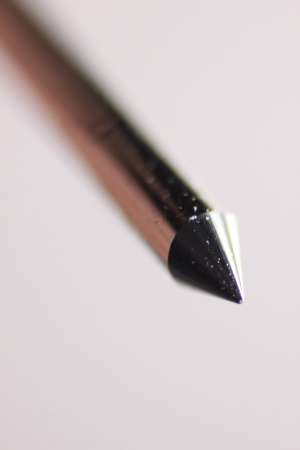
Das Ergebnis kann sich sehen lassen
Mehr zum Nutzen dieser Nadel gibt es beim Recordlathe Cutterhead V2 zu sehen.
8.11.2016
Der Dremel lief schon immer sehr unrund und das Einstellen von Winkeln war auch eher zufällig. Für die Holz-CNC hatte ich vor einiger Zeit schon eine Proxxon LSB/E gekauft, die mir definitiv besser gefällt.
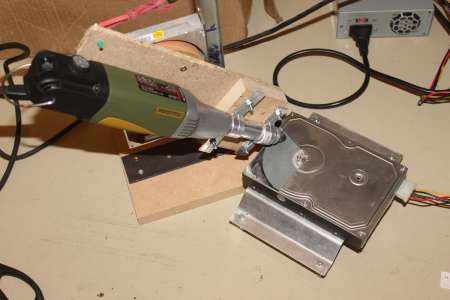
Damit die Nadeln nun auch damit geschliffen werden können musste eine neue Halterung her. Ein Zusammengeschweißter Winkel hällt seitlich eine alte Festplatte. Auf dem Festplattenmotor mit Lager ist eine Holzplatte befestigt, welche die Proxxon zum Schleifteller hin drehen kann. Das Gummiband sorgt für den entsprechenden Druck. Durch die Markierungen an der Halterung kann ich die Winkel nun etwas besser einschätzen.
Die damit geschliffenen Nadeln hab ich ab Cutterhead V3 verwendet.
